What is a keyframe?
A keyframe stores a value at a moment on a timeline. For a moving circle, that value might be its horizontal position. For a title entrance, it might be opacity or vertical position. A track connects keyframes for one property, so the same layer can have separate tracks for position, scale and opacity.
For example, set a circle’s horizontal position to 100 at 0 seconds and 300 at 1 second. With linear interpolation, its position at 0.5 seconds is 200. You set the important states; the animation system computes the intermediate values. Changing the second keyframe to 2 seconds keeps the distance the same but gives the movement twice as long.
Keyframe animation differs from drawing every frame. A frame-by-frame workflow creates successive drawings. A keyframed property changes between stored values. A project can combine the approaches, but this guide focuses on the text, shape and transform tracks you can inspect in Chorono.
Read the keyframes in a real animation
“Ideas in motion” is a six-second title card with seven named layers and nine animation tracks. Play it, pause it or select a marked moment. The download contains the same timeline used in the preview, with editable text and native shapes.
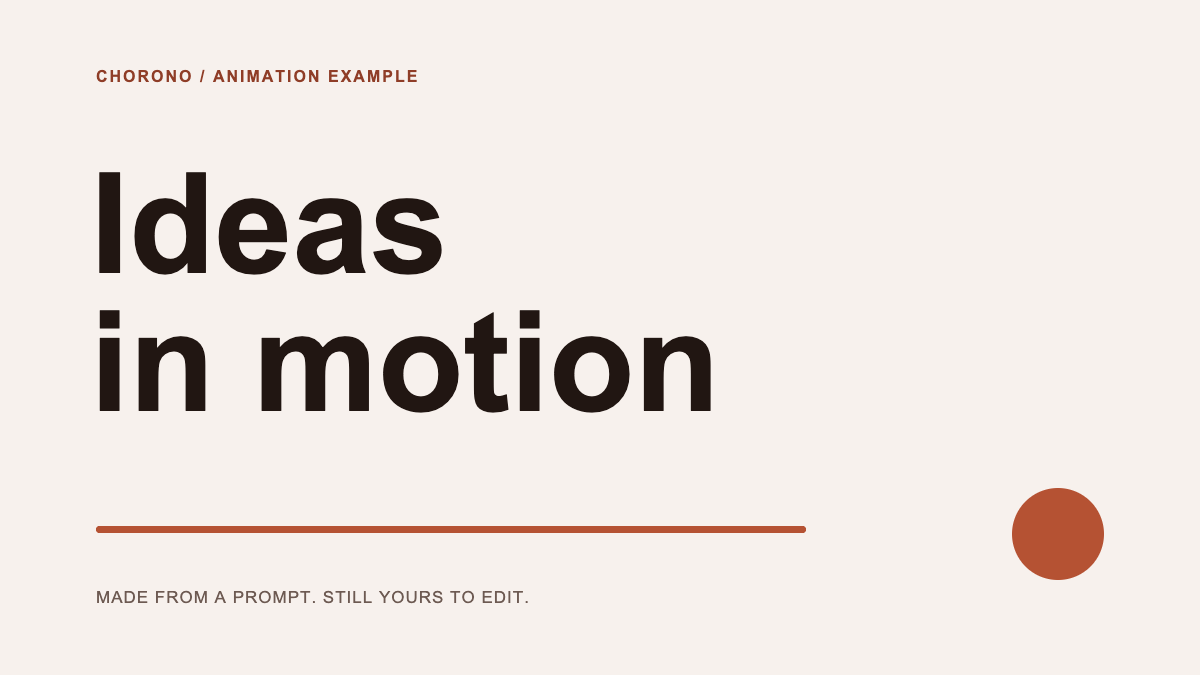
Open the downloaded file with Open Scene JSON in a separate Chorono editor tab. Select “Title — Ideas” and inspect its opacity and vertical-position tracks. The title begins at opacity 0 and y = 192. At 1.2 seconds it reaches opacity 1 and y = 164: a fade combined with a 28-pixel rise.
| Time | What happens | What to inspect |
|---|---|---|
| 0.0 → 1.2 s | Title — Ideas: y changes from 192 to 164; opacity from 0 to 1. | Two properties create one entrance. The outgoing easing is easeOut. |
| 0.16 → 1.2 s | Title — in motion: y changes from 330 to 302; opacity from 0 to 1. | The second line starts later and finishes with the first. |
| 1.2 → 3.0 s | Rust underline: scaleX changes from 0 to 1. | The line grows after the title entrance, using easeInOut. |
| 3.0 → 6.0 s | Orbiting rust circle: x stays at 1012; y stays at 488. | Equal values keep the circle still during the final hold. |
The coordinates describe this 1200 × 675 composition. They are example values, not universal positions for a title. Read the layer name and property before changing a number: a position keyframe and an opacity keyframe do different jobs.
Build your first keyframe animation
- Decide the final pose first. Place the title where it should remain after the entrance and check that the full sentence fits.
- Choose one property to animate. Start with vertical position instead of changing position, rotation and scale at once.
- Record a start value and an end value at different times. A short distance is enough to make an entrance visible.
- Scrub the middle of the interval. Check the actual intermediate frame rather than judging only the start and end.
- Add a hold after the entrance so the reader can understand the message. Save a portable project before trying a different treatment.
You can make the revision manually or ask a connected agent to change the same project. The setup guide explains installation, and the animation skills let Claude Code or Codex operate the local editor.
Read the open Ideas in motion scene. Keep the seven layers, text and six-second duration. Change only the Title — Ideas vertical entrance: start at y = 208 at 0 ms and finish at y = 164 at 1200 ms. Preserve its opacity track and ease-out timing. Inspect 0, 600, 1200 and 3600 ms, validate the scene and save a portable copy.This is a revision exercise. The downloadable example still contains its original 192-to-164 entrance, so you can compare your saved copy with the source.
Timing, spacing and easing do different jobs
Timing answers when a movement starts and ends. Spacing describes how far the object moves between successive frames. Easing changes progress through the interval, which changes that spacing.
Move an end keyframe later to slow the entire action. Keep the times fixed and change easing to alter acceleration. Add an intermediate keyframe when you need another explicit pose or change of direction. Adding more keys without a purpose can make the motion harder to understand and revise.
In Chorono, easing on a keyframe controls the interval leaving that keyframe. The title’s ease-out entrance covers more of its distance early and settles toward the end. Use the interactive easing comparison to examine the difference at the same elapsed time.
A checklist for debugging keyframes
- Confirm the selected layer and property. Moving a text layer is different from changing its opacity.
- Check that the start and end have different values and different times. Identical values produce a hold.
- Inspect the outgoing easing. A hold keeps the earlier value until the next keyframe rather than moving smoothly.
- Review the entire layer hierarchy if a parent transform also affects the result.
- Play the full sequence, inspect the midpoint and reopen the saved project to confirm the edit is preserved.
Next, apply the same method to readable text animation or a larger motion graphics composition. Keep the number of animated properties small until each movement has a clear purpose.