
Style a layer with fills, strokes and opacity
Start with a shape that has a clear silhouette. A fill sets its interior, a stroke gives it an outline, and opacity controls how strongly the whole layer appears over what is behind it.
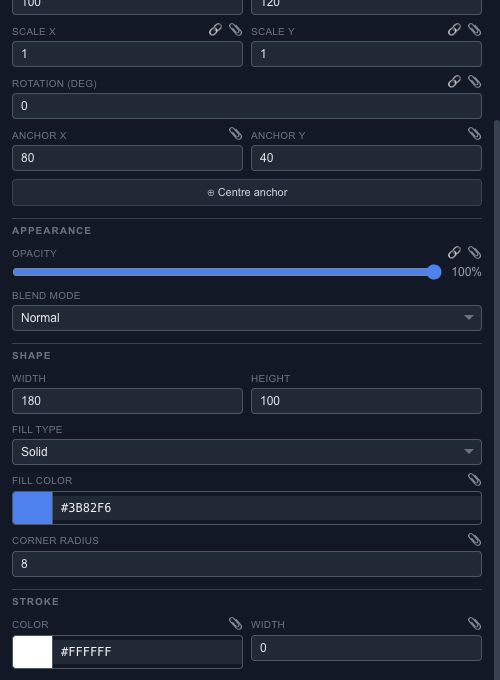
Build the appearance#
Choose the fill color or an available gradient mode, then adjust the gradient stops and direction. Add a stroke if the edge needs definition. Check a thin outline at the final export size; a zoomed-in canvas can make it look more substantial than it will be in the result.
Use opacity for a fade. Use a blend mode when the layer should combine differently with the colors underneath it. A blend mode needs overlapping content to produce a meaningful comparison.
Shape-specific settings#
Properties changes with the selection. A rectangle exposes its dimensions; a rounded rectangle adds corner controls. Stars, rings, arcs and other shapes expose the settings that define their geometry. Text has typography controls instead of pretending to be another rectangle.
If a change should happen over time, add a track for a supported property and compare two keyframes. For blur, shadows and other effects around the shape, continue with Effects.