
Work with the animation timeline
Use the timeline to see when a property changes, scrub through intermediate frames and compare the movement with its stored keyframes.
In this section
Dope Sheet
Move groups of keyframes, align beats and compare the timing of several layers without editing value curves.
Curve Editor
Read time-value curves, adjust keyframes and tangents, and compare acceleration across an animation.
Controllers & modifiers
Combine track controllers and ordered modifiers for oscillation, noise, springs and other reusable motion.
Segments & markers
Name ranges for playback, mark useful moments and connect animation events to those locations.
Ghost & onion skin
Use Ghost controls to compare neighboring poses, choose a time range and keep motion spacing readable.
Read tracks and keyframes#
A track animates one property on a layer. A keyframe stores its value at a specific time. A title can have separate tracks for vertical position and opacity, even when both changes feel like one entrance.
Open Your first animation, select the first-animation timeline and inspect a named layer. This example contains 13 tracks across eight layers.
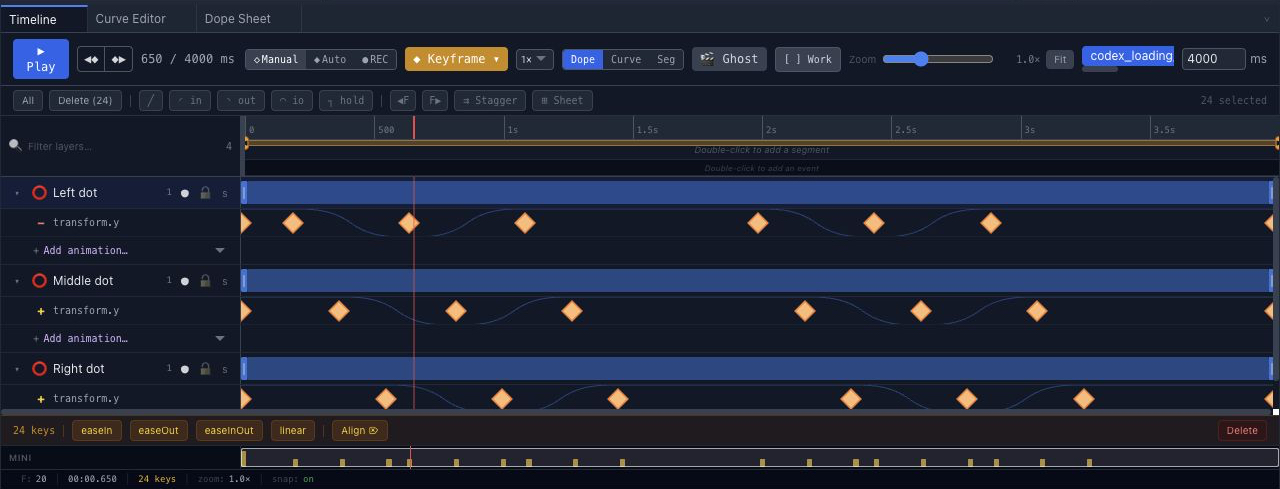
For the component screenshots below, open the simpler three-dot loading project. Its three animated dot layers each have one vertical-position track.
Scrub the playhead#
Move the playhead, the marker for the current time, to inspect a frame without playing the whole scene. Compare the beginning, a midpoint and the final state of a movement. Play the sequence too: a single still frame cannot show its rhythm.
Compare timing in the Dope Sheet#
Choose the Dope Sheet tab in the bottom dock. This is a separate panel from the Dope display button inside Timeline.
Expand a layer, then Transform → y, to see the property's keyframes. Scene and layer rows summarize their child keys; the property row shows the individual channel. Compare the offset peaks across the three dots before moving keys.
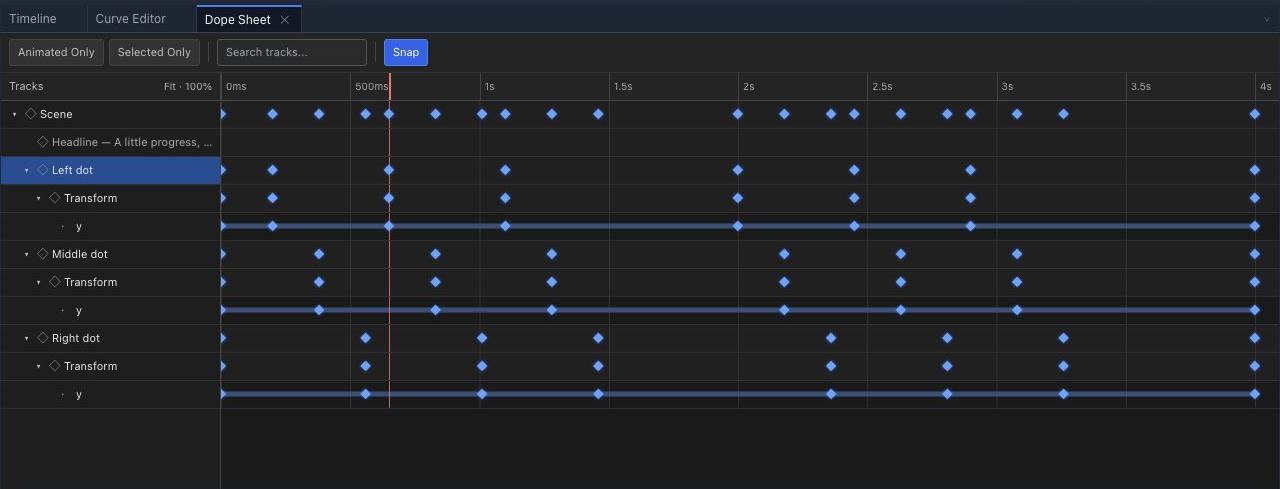
Use Search tracks to narrow the rows. Animated Only hides rows without animation, while Selected Only limits the view to the selected layer. Check Snap before dragging keys. Keep the original 180 ms stagger when following the loading-loop tutorial.
Understand frames and milliseconds#
Chorono's scene data and scripting times use milliseconds. 1000 ms is one second. At 30 frames per second, neighboring frames are approximately 33.33 ms apart. A four-second composition spans 120 frame intervals at that frame rate.
Changing the time of an end keyframe changes the duration of that movement. Changing its value changes the endpoint. Frame rate and movement duration are separate decisions.
Choose a timeline explicitly#
A scene can contain multiple timelines. Name the timeline you intend to edit in an agent brief. In a script, scene.useTimeline(id) selects the timeline for subsequent layer key operations; Timeline.key always targets its own timeline.
Timeline names such as intro, idle and outro do not automatically sequence those animations. Use explicit keyframe times for a continuous sequence, or verified interaction definitions for state transitions. See JavaScript scene scripting.
Check looping playback#
A repeating timeline must join its end back to its beginning as intended. Inspect the frames before and after the wrap. Matching positions alone does not guarantee matching speed.
Follow Looping animations to inspect a four-second scene with a resting interval at its boundary. Save and reopen your edited project before treating the revision as complete.
Set keys for selected layers#
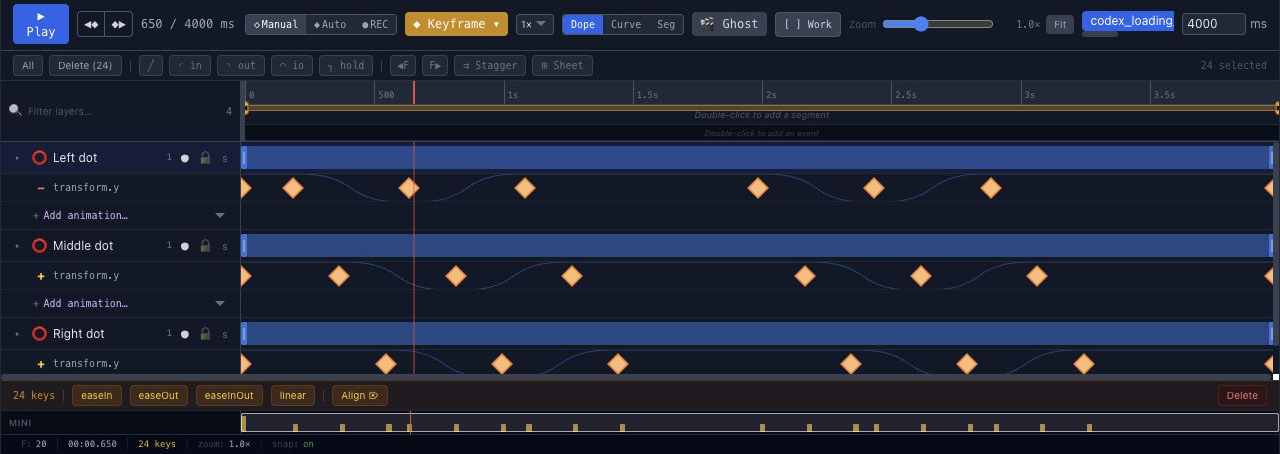
Set Key (K) uses the explicitly selected layers on the active timeline. Selecting a parent does not automatically key every child. A short click uses the current keying set. Long-press, right-click, press Up/Down on the focused button or use Shift+F10 to open its options:
| Keying set | Channels included |
|---|---|
| All supported channels | Every supported keyable channel on the selection |
| Transform + opacity | Transform and opacity channels |
| Existing animated channels | Channels that already have animation |
| Selected key channels | Channels represented by the selected keys |
Choose Set keys now to apply the selected set immediately. Updating an existing key keeps its ID, easing and tangent information; newly created keys start with linear interpolation. If some channels are driven or protected, review the list and choose Set supported keys or cancel.
Navigate frames and keys#
The transport has controls for the start/end, previous/next frame, previous/next key and first/last key. Focus matters: Left/Right step through time in the timeline, but move objects when the canvas owns the keyboard. See the shortcut table.
Use Find selected to reveal selected layers and their animation rows. Selecting a layer by itself does not repeatedly scroll the timeline. Clear all keyframes on a layer removes that layer's keys on the active timeline; a parameter-row clear affects only that channel. Neither action clears children, other timelines, controllers, modifiers or Wires.
For retiming several keys together, read collision handling before applying an overwrite.